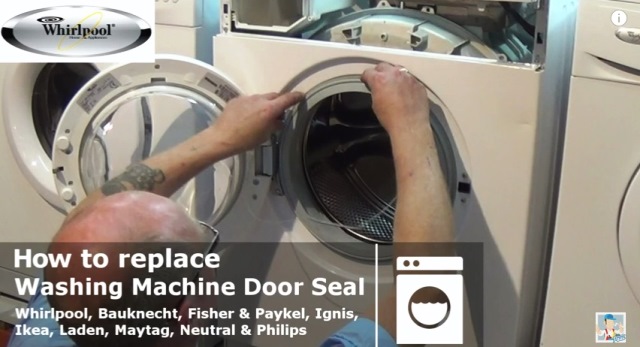
How to Replace Whirlpool washing Machine Door Seal
by Paul Charmbury
/
Tuesday, 14 April 2015
/
Published in Door Seals & Gaskets, Repair Guides, Washing machines

Whirlpool Washing Machine Door Seal
If your washing machine is leaking from the front of the door, or the door seal is torn, warped or damaged, or mold has built up at the bottom of the seal and it's beyond cleaning, it´s time to replace it for a new one.
This video will show you in detail how to replace the door seal gasket and fit the new one properly to Whirlpool, Bauknecht, Fisher & Paykel, Ignis, Ikea, Laden, Maytag, Neutral & Philips models of washing machine.
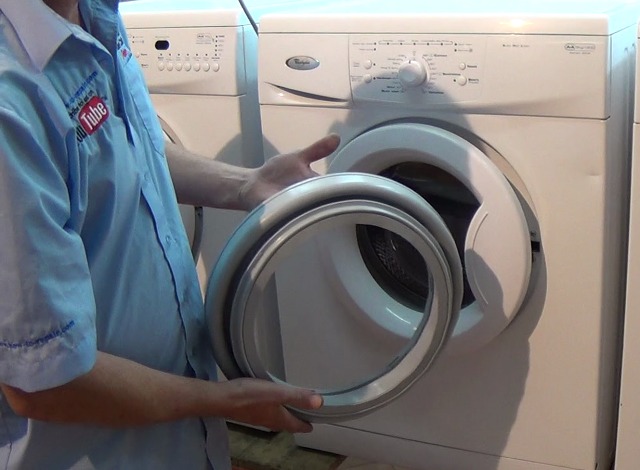
New washing machine door seal
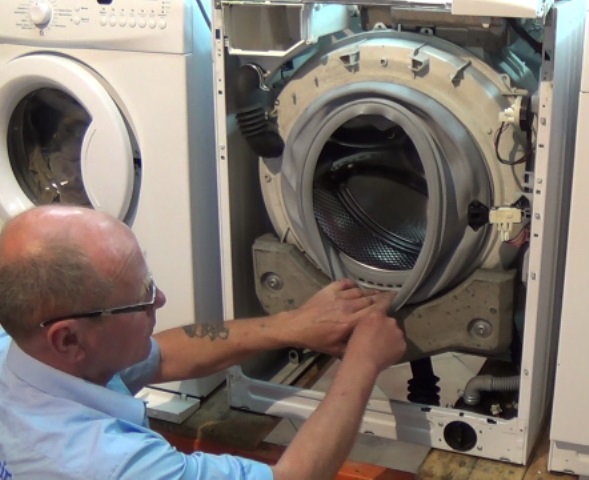
Align the door seal with drain holes at the bottom of drum

Fitting seal retaining band or spring
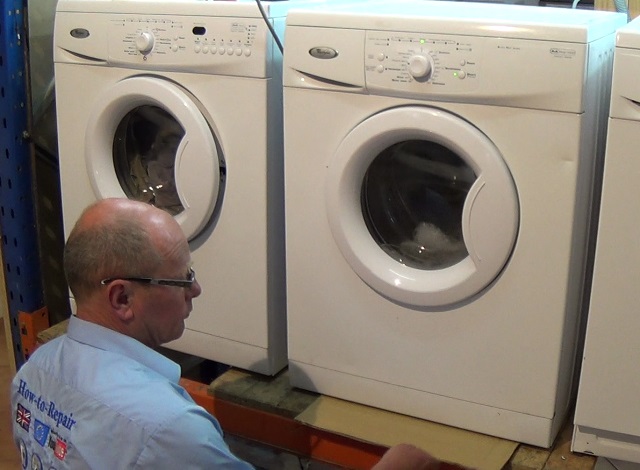
Inspecting washing machine for leaks


Thanks from Holland for the very clear instruction video’s. Helps me to get the job done!
Worth noting the more recent Ikea Renlig FWM type washing machines are a pig to replace the seal on. You need access to the bottom of the machine to remove 3 screws that release front panel. The concrete drum weight then makes access to refit the new seal almost impossible. It has to be lubricate with washing up liquid and then tortuously rotated as you feed on the seal from the small point at the top of the drum where you can access the drum lip. Two and a half hours !!
how do I change program selection knob for whirlpool awo/d 4310 washing machine?
if there would be a video of this job it would be even more helpfull
yours Raimo J Pollanen