LG F14U1 Washing Machine Service Test Mode & Diagnostic Sequence

LG F14U1 Washing Machine Diagnostic Mode Guide
In this step-by-step guide, we will show you how to enter the diagnostic mode on an LG washing machine, specifically the models that feature a display panel without a control knob.
We will tackle an LG F14U1 washing machine without a control dial and its variations. To enter test mode, press the on-off button and within one second, press the other two buttons displayed on the screen. This leads you into diagnostic mode, where the machine examines all the LEDs and the door lock. A DE error code would appear if there were a fault.
We would also recommend you watch our 5-minute video since we're taking you on an exclusive tour inside a LG washing machine, showcasing test mode.
Additionally, you can visit our web store to buy genuine spare parts: https://how-to-repair.com/collections/washing-machine-parts
Safety First!
- Diagnose test mode should always be run with the drum empty and no clothing in the drum.
- If you have to do any work on the machine, make sure you unplug the appliance from the electricity supply.
- Organize screws and parts meticulously to avoid confusion if you have to do any work on the machine.
Let's Begin!
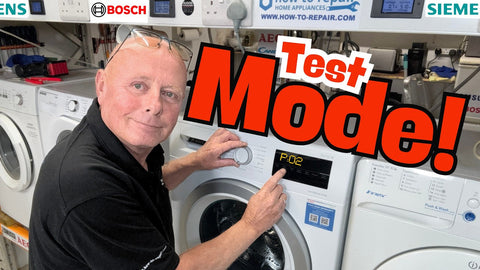
Entering Diagnostic Mode
First, ensure the drum of your washing machine is empty and the door is shut. To enter the diagnostic mode, press the on/off button, then within one second, press the wash and rinse buttons simultaneously.
Once in diagnostic mode, the machine will perform a series of tests.
Please remember that the whole video includes step-by-step and detailed explanations, which may help you reduce your repair time.
Stage 1: Door Lock and LED Test
Upon entering the diagnostic mode, you'll hear a click, indicating a check of the door lock. The machine will also illuminate all LEDs to ensure they're functioning correctly. The software version of your machine will then be displayed on the screen.
Stage 2: Motor Action Test
Next, the machine will perform a series of tests on the motor. Press start to begin these tests. The first test involves a clockwise rotation at 45 RPM.
Stage 3: 50% Maximum Spin Test
Press start again, and the machine will increase to about 50% of its maximum spin speed. The exact RPM may vary from model to model, but it should typically reach around 600-700 RPM. Note that the screen may not display the exact RPM; it might show a number corresponding to the RPM (e.g., 59 for 590 RPM).
Stage 4: Maximum Spin Test
Press start once more to test the machine's ability to reach its maximum RPM.
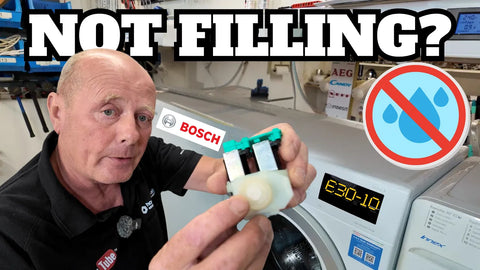
Stage 5: Water Valve Test
The next stage involves testing the water valves. The machine will stop spinning and begin to fill with water. The display will show a number - starting at 255, representing the frequency value of an empty drum. As the drum fills with water, this number will gradually decrease.
Stage 6: Main Wash Valve Test
Press start again to switch to the main wash valve. The machine will continue to fill with water until it reaches the maximum fill level (typically at a frequency of 229).
Stage 7: Recirculation Pump Test
Before the frequency reaches 229, press start to test the recirculation pump. If you observe the drum, you'll see a trickle of water indicating that the pump is working correctly.
Stage 8: Anti-clockwise Rotation Test
The next sequence tests the motor's anti-clockwise rotation at 45 RPM.
Stage 9: Heater and NTC Sensor Test
The next test involves the heating system. When you press start, the display will show the temperature of the water in the drum, verifying the NTC sensor's function. For a couple of seconds, the heating element will be energized to confirm the circuit's integrity.
Stage 10: Emptying Test
Finally, the machine will empty, and the frequency will rise back to 255, indicating an empty drum.
By following this guide, you should be able to diagnose and troubleshoot issues with your LG washing machine.
Remember, if you need any parts for your appliance, including door seals, hall sensors, motors, pumps, or anything else, always use your full model number to ensure you get the correct parts.
Don't forget to buy spare parts from our website!
In addition, our YouTube channel contains hundreds of videos that provide assistance on a wide range of domestic appliance repairs.
If you need any parts for your LG washing machine, you can find them on our site.
If this guide was particularly helpful, you can always donate us by clicking on the Buy Paul a Beer page.
Related Video: https://www.youtube.com/watch?v=RAABlRMMmY4
Complete Playlist on All LG Washing Machine Repairs: https://www.youtube.com/playlist?list=PLnAHZbSarsyHLR4x9XPIS-ZEsheufxm9Y

1. LG F14U1 Washing Machine Diagnostic Mode Guide

2. Entering Diagnostic Mode on LG F14U1 Washing Machine
Parts for This Model
Showing compatible parts for model F14U1