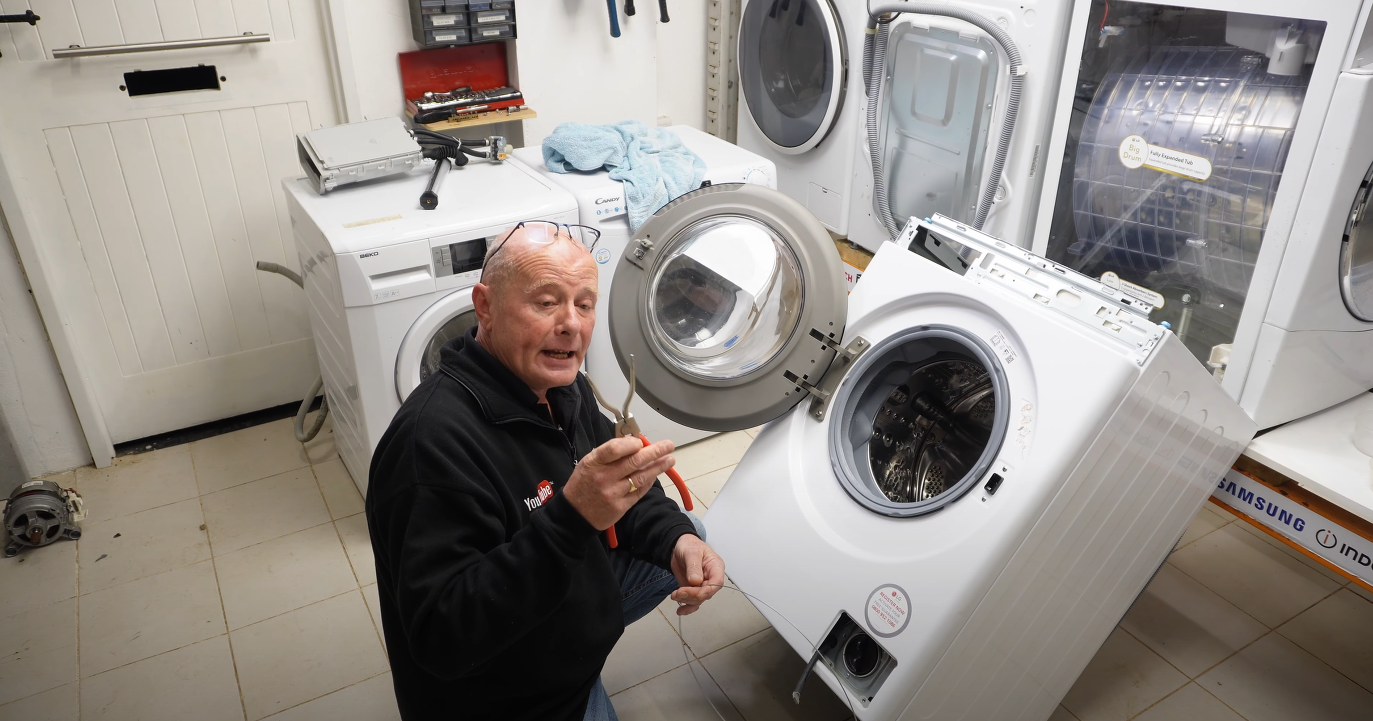
How to take a part and disassemble an LG washing machine
by Paul Charmbury
/
Friday, 22 March 2024
/
Published in Door Locks & Switches, Door Seals & Gaskets, Drum & Bearings, Repair Guides, Washing machines
LG, washing machine, thinQ disassembly fault finding and how to access components
How to Dismantle a LG washing machine FCV310WNE: A Step-by-Step Guide, Dismantling and Troubleshooting
Ultimate Guide: How To Take Apart An LG ThinQ Washing Machine (2023 Edition)
This guide will comprehensively show you how to dismantle and disassemble LG ThinQ washing machines following a step-by-step approach, incorporating insights from a helpful video
Safety First!
- Unplug the washing machine before starting disassembly.
- Organize screws and parts meticulously to avoid confusion during reassembly.
Tools You'll Need:
- Screwdrivers (various sizes)
- Pliers
- Optional: Door band pliers, Multimeter, Hook (for removing element)
Let's Begin!
-
Top Panel:
- Remove the lid by pushing it back.
-
Control Panel:
- Take out the soap drawer by pressing the button.
- Unscrew the two control panel screws (often aluminum/stainless steel).
- Disconnect the wiring (photographing connections for reference is recommended).
- Remove the control panel and display circuit board.
-
Fill Assembly:
- Detach the water valve, top hose, and soap box hose.
- Check the water valve (related to IE and FE error codes) for dirt or jamming.
- The soap box assembly can be cleaned for mold buildup.
- Detach the water valve, top hose, and soap box hose.
-
Door Assembly:
- Most LG doors are sold as a complete unit with hinges.
- Unscrew the hinge and door screws.
- Use a small screwdriver or door band pliers to pry open the door if needed.
-
Front Panel:
- Remove the flap and hidden screw at the bottom.
- Unscrew the two bottom screws.
-
Door Seal:
- Use a small screwdriver or designated pliers to detach the door seal.
-
Door Lock:
- Unscrew the two screws holding the door lock.
- Check the electrical connection for burning (related to DE error code).
- Press the clip button to remove the lock.
-
Main Panel:
- Unscrew the top three screws and support the panel as you detach it.
- Release the clips at the bottom to remove the panel entirely.
-
Program and Front Retaining Bar:
- Unscrew and remove the program unit.
- Detach the front retaining bar.
-
Inbalance Load Sensor:
- Take pictures of the wiring for reference (color-coded clips).
- Unclip and remove the sensor.
- Circuit Board:
- Circuit boards can be faulty and are difficult to repair due to moisture-resistant encapsulation.
- Note the part number as replacements need to be compatible with your machine model.
- Heating System:
- Cut cable ties and disconnect the connections to remove the heating element and NTC sensor.
- Use a multimeter to check the element (2 kΩ) and NTC sensor (resistance changes with temperature).
- Pressure Bowl:
- Unscrew the bottom screw and detach the hose from the pressure bowl.
- Release the clip and remove the entire hose assembly.
- Counterweights:
- Counterweights can crack and cause vibration or damage.
- Unscrew and remove the counterweights to replace the door seal.
- Door Seal Replacement:
- With counterweights removed, detach the door seal hose and lift the seal for replacement.
- Suspension Legs:
- Press down the pin on the front of each leg and slide it back to remove.
- Part numbers are typically located on the legs.
- Motor Removal:
- Access the motor by removing the back panel.
- Disconnect the wiring and undo the spline bolt (sometimes glued with Loctite).
- Unscrew the stator bolts and detach the motor.
- Drum Removal:
- Check the motor coupling for wear (common problem in heavy-load machines).
- Disconnect the pressure switch (related to PE and FE error codes).
- Detach the suppressor or filter (related to PF error code).
- Lift the drum carefully using designated lifting points (two people recommended).
- Drum Bearings (Optional):
- LG drums are splittable for bearing replacement (separate video recommended).
Reassembly:
- Carefully reassemble the machine in the reverse order, ensuring proper connection of all parts.
Additional Tips:
- Refer to the video for detailed visual instructions
- Organize parts meticulously to avoid confusion during reassembly.
- Purchase replacement parts using your model number for compatibility.
LG, washing machine example, exploded diagram of all components
Tagged under:
F2A509GBLN1, F2C509GBTN1, F2T208WSE, F2Y509WBLN1, F2Y709BBTN1, F4A510GBLN1, F4C510GBTN1, F4C510WBTN1, F4T209SSE, F4T209WSE, F4V309SNE, F4Y511GBLA1, F4Y511WBLN1, F4Y511WWLA1, F4Y513WWLN1, F4Y711BBTN1, F4Y713BBTN1, F4Y909WCTN4, F6V1110WTSA, FCV309WNE, FCV310WNE