FORGOT YOUR DETAILS?

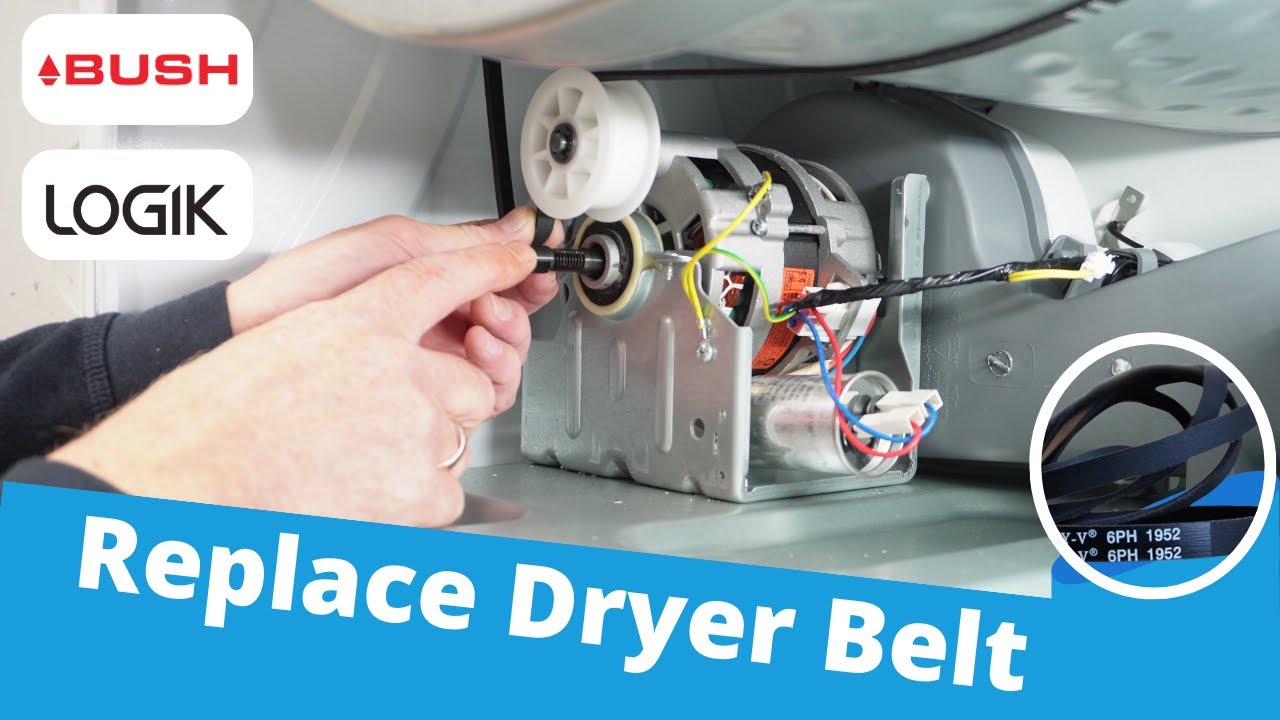
Beko Condenser Tumble Dryer Ultimate Maintenance Guide | Empty Water Tank, Light Staying On or Leak!

How to Repair Beko Condenser Tumble Dryer? Ultimate Repair Guide for Tumble Dryer Leaking Water

We will fix your problems in this repair guide for Beko condenser tumble dryers! Whether you're experiencing issues like a persistent water tank light, leaking tumble dryer, or simply want to ensure optimal performance, this guide will help.

Follow our step-by-step instructions to keep your dryer running smoothly.

If your Beko condenser tumble dryer is leaking, not collecting the water or drying well enough, you should watch the video. You can watch 20:14 to understand why you need to watch whole video!

Additionally, you can visit our web store to buy genuine spare parts: https://shop.how-to-repair.com/collections/tumble-dryer-parts 

Safety First!

  • Unplug your Beko condenser tumble dryer before starting disassembly.
  • Organize screws and parts meticulously to avoid confusion during reassembly.


Tools You'll Need:

  • Screwdrivers (various sizes)
  • Flashlight
  • Vacuum cleaner with various attachments
  • Hot soapy water
  • Soft brush


Let's Begin!


Before Starting Understand the Difference of Dryers

Condenser tumble dryers and heat pump tumble dryers both work for drying clothes, but their methods for generating heat differ significantly. Condenser dryers, familiar to many users, rely on a heating element to dry clothes, making them less energy-efficient compared to heat pump dryers.

Heat pump dryers, on the other hand, reuse hot air at lower temperatures. This not only reduces energy consumption but also provides more gentle care for your clothes. While heat pump dryers' load cycles show differences, the energy savings and improved fabric protection make them a compelling choice.


1. Removing the Front Parts for Cleaning

  • Carefully detach the front grill and ducting to access internal components for thorough cleaning.
  • Use appropriate tools to disassemble parts without damaging them.
  • Cleaning front parts with hot soapy water prevents lint buildup and ensures optimal airflow for efficient drying.


2. Condensing Unit Maintenance:

  • Remove the condenser plate and relocate it to easily cleanable area, such as a shower.
  • Thoroughly clean the condenser plate to remove any accumulated fluff and dirt.


3. Removing the Back Plate / Side Panels / Lid

  • Disassemble the dryer by removing the back plate, side panels, and lid to access internal components.
  • Follow our guides on the video to safely remove and reinstall these parts.


4. Cleaning the Dust with Brush & Vacuum

  • Use soft brush and vacuum cleaner to remove dust and fluff from internal surfaces, including heating elements, fan blades, and ducting.
  • Clean the hard-to-reach spots to reduce airflow restriction and overheating.
  • You should remember that regular cleaning improves dryer performance and increases its lifespan.


5. Cleaning the NTC Sensor Chamber

  • Clean the NTC (Negative Temperature Coefficient) sensor chamber to maintain accurate temperature readings and prevent heating issues.
  • Go easy on the cleaning. Don't scrub too hard, or you might break or damage something important.
  • A clean NTC sensor chamber ensures your dryer runs efficiently by providing accurate temperature readings, preventing overheating and uneven drying.


6. Cleaning the Water Collection Hole

  • You should clean the water collection hole to prevent blockages and ensure proper drainage.
  • For optimal cleaning, use the right tools, such as a soft brush or vacuum cleaner to dislodge fluff and dirt from the hole and its surrounding area.
  • You should also remember that, regularly clearing the water collection hole is crucial to prevent overflows and potential leaks.


7. Removing and Cleaning the Pump Unit

  • Detach and clean the pump unit to prevent blockages.
  • Carefully disconnect electrical connections and hoses before removing the pump unit.
  • Clean internal components and inspect for signs of wear or damage.
  • By properly maintaining the pump, you can avoid water stagnation and the associated risk of leaking tumble dryer.


8. Cleaning the Fan Blades

  • Inspect and clean fan blades to optimize airflow and prevent overheating.
  • Use a brush and vacuum to remove dust and lint from fan blades and surrounding areas.
  • Make sure the fan blades are on tight to avoid your tumble dryer squeaking problem.


9. Cleaning the Door Unit and Condenser Area

  • For optimal drying performance, remove lint buildup from the door and condenser unit to maintain good airflow.
  • Use gentle cleaning methods like you did in the previous steps to avoid damaging components.
  • Regularly cleaning the condenser of lint buildup ensures optimal airflow, allowing your dryer to function at its most efficient level.


10. Understanding the Air Flow / Drain Points / Pump System

  • By learning about your tumble dryer's airflow process, drainage points, and pump function, you can easily diagnose and prevent common issues.
  • You should know that hot air gets recycled through the condenser unit, while the fan at the front pulls in cool air to keep things efficient.
  • Your dryer has some drainage points, like tiny holes in the condenser unit and pump, where it collects water.
  • The dryer's pump system plays a crucial role in moisture removal. It takes the condensed water collected in the tray at the bottom and pumps it up to a designated drainage point, often located near the top of the machine, for proper disposal.


11. Reassembling the Parts

  • Carefully reassemble all components, ensuring proper alignment and connection.
  • Refer to disassembly instructions or our guides on the video to correctly reinstall parts.
  • Tighten screws securely to prevent loose components.
  • Proper reassembly ensures the dryer operates safely and efficiently.


12. CERTAIN ITEMS NEED REGULAR CLEANING

  • The filter system inside the door panel needs to be cleaned and vacuumed out every 4-6 weeks.
  • The condensing unit needs to be taken out and washed every couple of months.
  • Pipes need to be cleaned every 12 months.
  • Side panels need to be taken out and vacuumed inside regularly.


Related Video: https://www.youtube.com/watch?v=58USFg60L38

Beko Tumble Dryer Playlist: https://www.youtube.com/playlist?list=PLnAHZbSarsyF8hkC2iVxQhaov90GahF8F

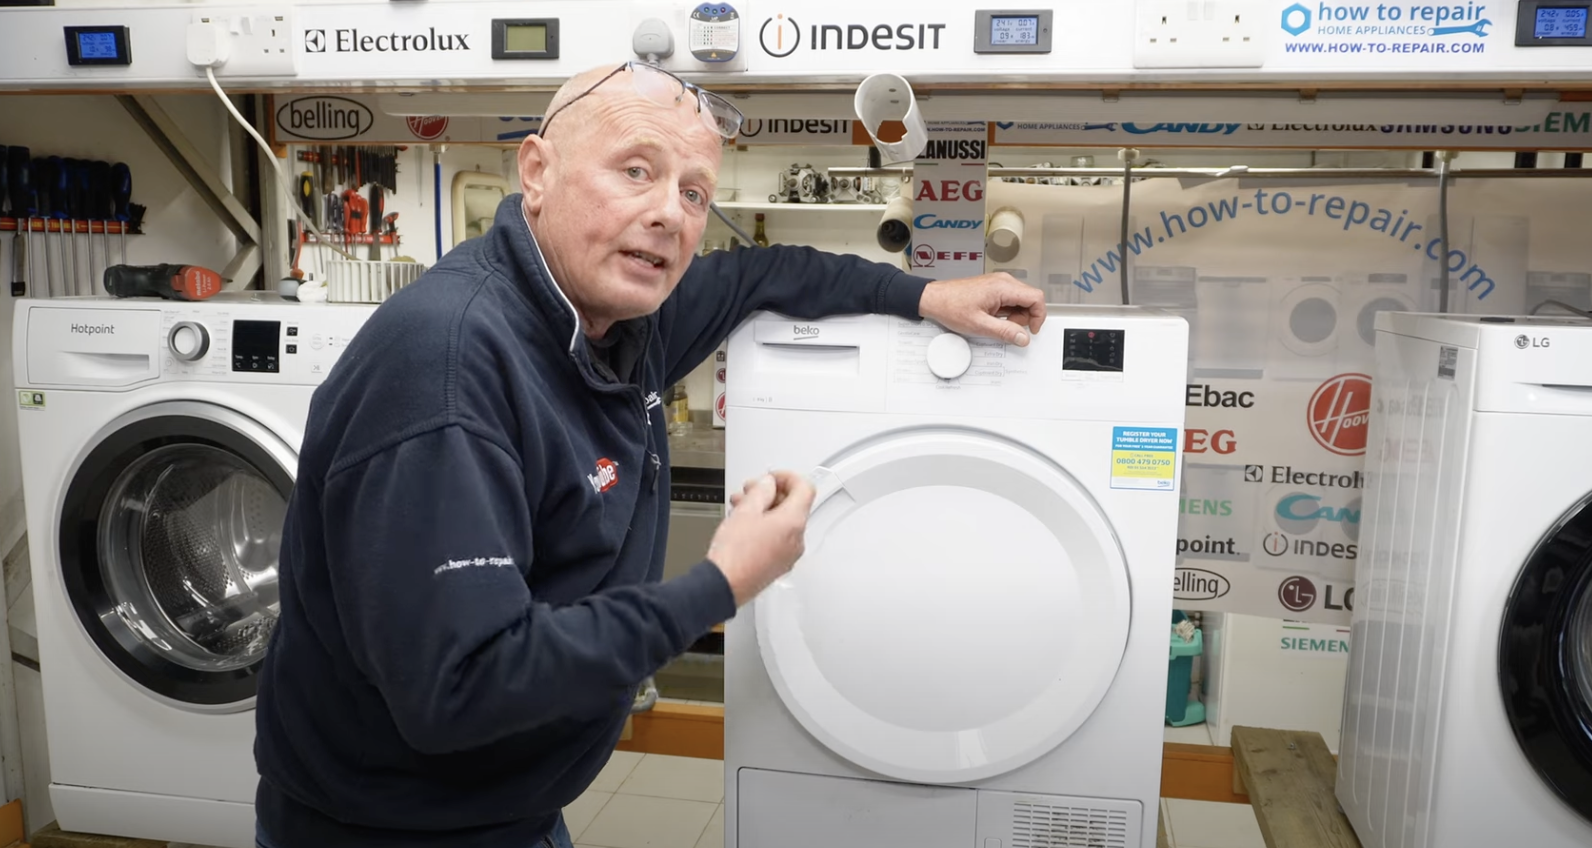
Beko Condenser Tumble Dryer Leaking Problem

Cleaning the Beko Condenser Tumble Dryer NTC Sensor Chamber

Cleaning the Beko Condenser Tumble Dryer Door Unit and Condenser Area 2

Removing the Beko Condenser Tumble Dryer Front Parts for Cleaning

Cleaning the Beko Condenser Tumble Dryer Water Collection Hole

Understanding the Beko Condenser Tumble Dryer Air Flow / Drain Points / Pump System

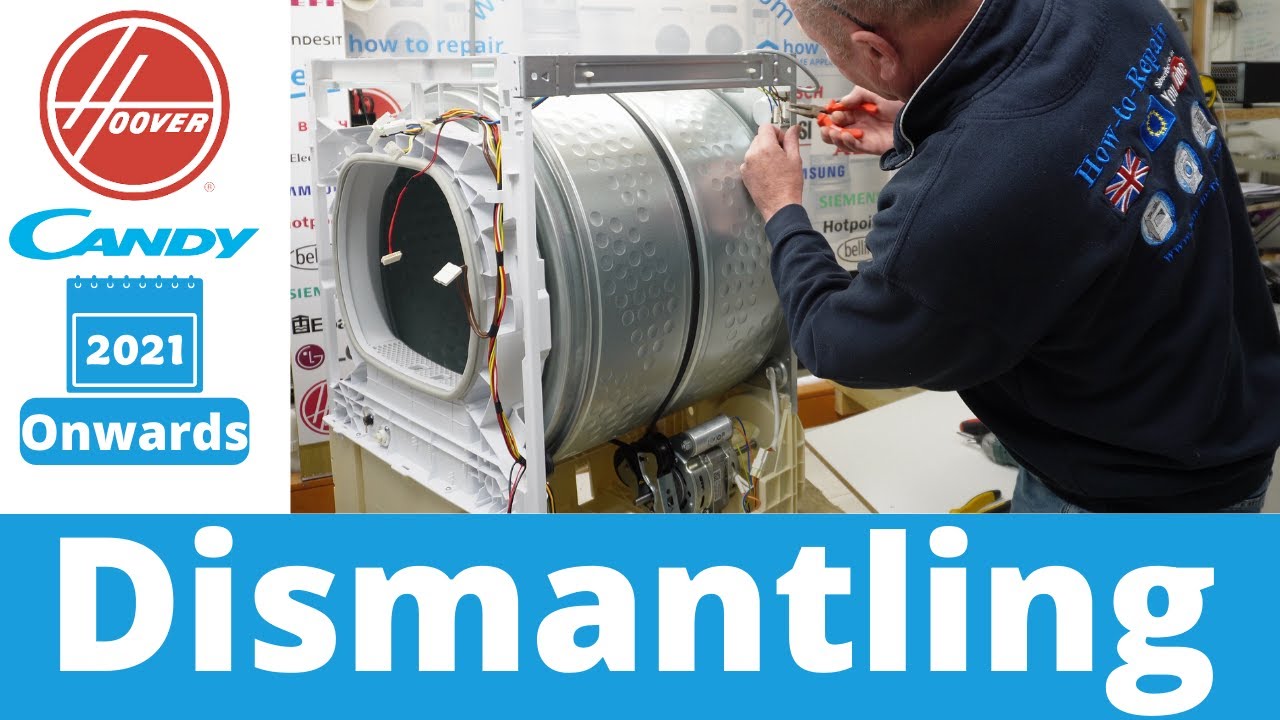
Removing the Beko Condenser Tumble Dryer Back Plate / Side Panels / Lid

Removing and Cleaning the Beko Condenser Tumble Dryer Pump Unit

Cleaning the Dust from Beko Condenser Tumble Dryer with Brush & Vacuum

Cleaning the Beko Condenser Tumble Dryer Door Unit and Condenser Area

24h technical help answers

Questions on faults in the comments will not be answered. Please use the contact us form instead.

TOP