NEW REPAIR GUIDES

FORGOT YOUR DETAILS?

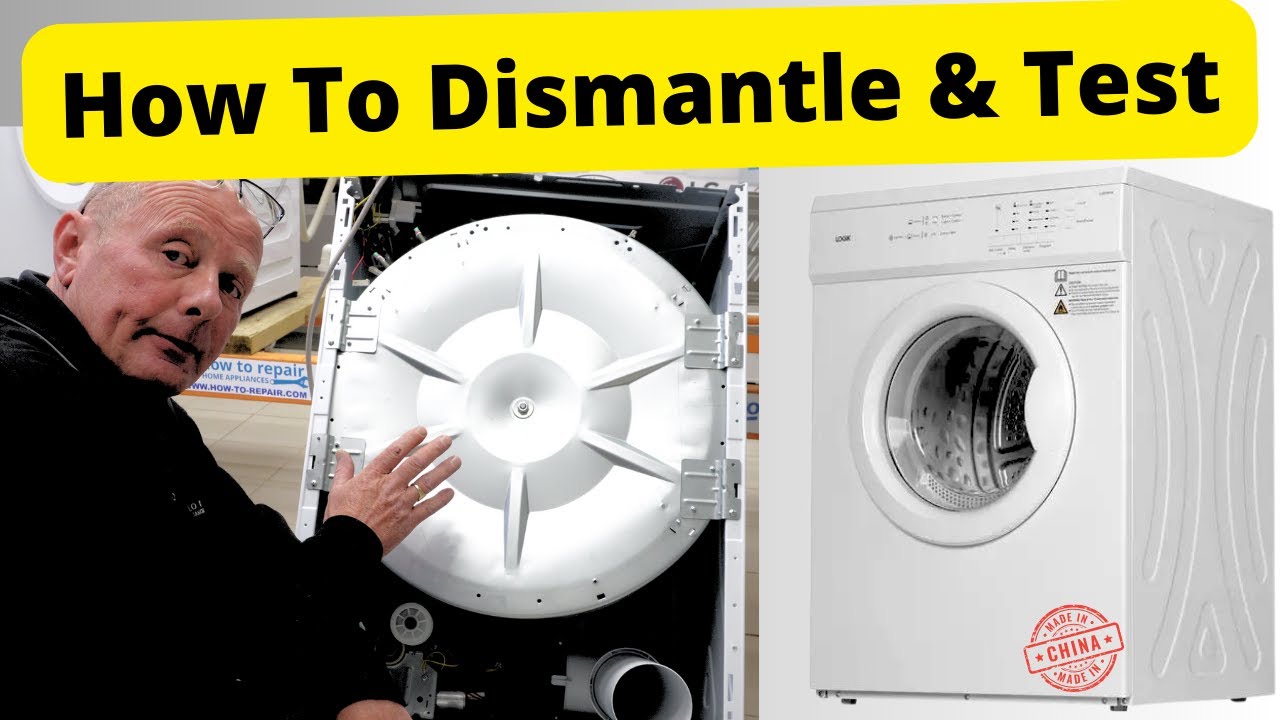
How to Dismantle Bush WMNBX814W Washing Machine? | Compatible with Vestel Made Washers (Logik, Bush, Regal, Clayton, Wellington etc.)

Repair Guide for Dismantling Bush WMNBX814W Washing Machine


In this guide, we will show you how to disassemble a Bush washing machine, model number WMNBX814W.

We will be disassembling a Bush washing machine, demonstrating how to take it apart, remove all parts, and explain its workings and common faults. We're dismantling it because the drum is slightly warped and a sock has caused damage to the door seal.

Disassembling it will benefit others, as Bush washing machines, made by Vestel, are used by various brands.

Although our aim is to guide you through the disassembly process and address common errors to assist with any future issues in this guide, we would recommend you watch the whole video to learn each step in detail. In the full video, you will also learn:

  • How to find your Bush washing machine's model number
  • How to enter test mode
  • How does the heating system work
  • How does the pressure switch work
  • How does fill system work
  • Common pump, sump hose and other emptying problems
  • And common motor faults or errors


Additionally, you can visit our web store to buy genuine spare parts: https://shop.how-to-repair.com/collections/tumble-dryer-parts 


Safety First!

  • Unplug your washing machine before starting disassembly.
  • Organize screws and parts meticulously to avoid confusion during reassembly.


Tools You'll Need:

  • Screwdrivers (various sizes) or chargeable drill with correct extensions (if you have one).
  • A friend to give you a hand while removing the motor.


First Remove Front Panel, Soap Drawer, Control Board, Door Seal & Lock


  • First, remove the lid by undoing two standard screws at the top, and taking out the soap drawer is next.
  • To access the screws, remove the facial panel, held in place by two screws at the top and two at the soap door.
  • Once the retention bar is off, you can lift the panel away.
  • Since the doors are expensive, it's worth it for you to keep them.
  • You may want to remove two concrete blocks to lighten the machine; they're necessary to replace the door seal.
  • Again, please watch the whole video to implement these steps easily.


Now Remove PCB Control Board (Printed Circuit Board)


  • Before we proceed to remove the motor and drum from the machine, we'll first take out the program.
  • First of all, cut the cable ties holding the wiring to the top bracket and snip the wires instead of removing the plugs. This helps you, or the repairman replacing the board in the future, identify which wire goes where.
  • You may notice dirt on the program, which is carbon from the motor, which tends to spread around the machine. If your board isn't powering up, it could be due to a burnt-out electrical suppressor or filter. Each circuit board is pre-programmed for specific models, controlling components like the pump and heater. Moisture can cause issues with these exposed boards, a common problem with these machines.


Let's Remove Soap Box and Soap Box Hose


  • After removing the program, let's proceed to take out the soap box.
  • This involves undoing a clip underneath that holds the soap box hose, which can be tricky to reach.
  • Then, you can remove the hoses connected to the water valve via clips, sometimes requiring a twist to detach them.
  • Finally, you can remove the soap box itself.


Now We Can Remove Washing Machine Motor and Belt


  • Now, we'll remove the motor, belt, and other components behind it.
  • There's an identification plate on the back with useful information such as the model number and manufacturer details.
  • After unscrewing the back panel, removing the belt is so easy: just lift it towards you while rotating, and it will come away.
  • The belt has a part number and size printed on it, indicating its profile and diameter. (This belt's part number: 30273066008)
  • Now, onto the motor: unplug it and remove any cable ties securing it to the drum.
  • Once unplugged, the motor can be detached using a single 13mm bolt.


Let's Remove the Waste Pipe, Shock Absorber, Suspension Leg Pins, and Water Valve Solenoid


  • Quickly detach the waste pipe by unclipping it and threading it through.
  • Remove the pins from the suspension legs by pressing down on the plastic lug and pulling out the main locking pin. These suspension leg pins can be stubborn, so you might need to apply some force. Once both pins are out, we're ready to lift the drum out of the machine.
  • To remove the water valve, first disconnect the connections on the solenoids. Please remember that these connections can be sticky. Then, remove the two screws holding the water valve in place, and it will come away easily. It's important to clean the filters on the back of the water valve regularly to prevent any debris from causing issues.


Lifting Washing Machine Drum Out & Removing Drum Springs


  • To pull the drum out of the machine, you may either ask a friend for assistance or use a hoist.
  • There's a hooking lug on the drum to take some weight off. After detaching all the wiring, you can easily remove the springs.
  • These Vestel machines allow bearing replacement, which is beneficial for those who can't afford to replace the entire machine.
  • There are two pins holding the suspension legs to the drum.
  • You also need to undo the screw for the soapbox hose. Even if this machine may be budget-friendly, it offers the possibility of bearing replacement, which we appreciate.
  • Please remember that the whole video includes step-by-step and detailed explanations, which may help you reduce your repair time.


Vestel makes washing machines for all these manufacturers, and this video will assist with these machines:

Action, Admiral, Akai, Alaska, Amica, Aspes, Atlantic, Avea, Aya, Basic Line, Baumatic, Becken, Bell, Bellavita, Bellen, Benavent, Bluesky, Bompani, Brandt, BSK, Bush, Calafornia, Carrefour Home, CDA, Clayton, Cobal, Concorde, Confortec, Continental Edison, Corbero, Cranker, Crosslee, Currys Essentials, Daewoo, Daya, Digihome, Dikom, Domeos, Durabase, ECG, Ecron, Edesa, Edson, EDY, Electra, Electric Co, Electroline, Electronia, Elegance, Elektoland, Esvam, Eureka, Eurofrio, Euroline, Eurolux, Europa, Eurotec, Exquisit, Fagor, Fairline, Flada, Far, Fidjielectric, Finlux, Fortex, Frab, Frigidaire, Funix, Geltron, Forenje, Graetz, Haier, Hanseatic, Harrow, HDC Link, Kelkina, Highone, Holme, Homeking, Houseline, Howell, Hyundai, Iceberg, Icecool, Ideal, Ignis, Inexive, Inno Hit, JBC, Jet, Jetwash, JPC, Junda, Kendo, Kennex, Kenwood, Koenic, Koenig, Konen, Konig, Kunft, Kympo, Laden, Laurus, Lazer, Linetec, Linsar, Listo, Logik, Luna, Luxor, Manhattan, Marpi, Master, Matsui, Mercury, Montpellier, Myria, Nardi, Newpol, Newtec, Newtech, Next, Nikkei, Nordmende, Ocean, Oceanic, OK, Oki, Onwa, Origane, Orima, Orion, Orline, Ormond, Oxford, Philco, Polar, Princess, Proaction, Proline, Proxy, QIlive, Raymond, Regal, Riber, Rommer, Royale, Russell Hobbs, Saba, Sangiorgio, Sauber, Schadler, Schaub Lorenz, Schauen, Schneider, Schontech, Seaway, Seelect, Sekom, Selecline, Servis, Sharp, Signature, Skandiluxe, Smeg, Sog, Sogelux, Sovereign, Statesman, Sunfeel, Supremo, Surfline, Svan, Swan, Taurus, Technic, Technica, Technical, Techwood, Tecnison, Tecnogas, Tegran, Teka, Telefac, Telefunken, Tensai, Tesco, Testronic, Thor, Top Edition, Tucson, Twinstar, Udachi, Inic Line, Valberg, Vanguard, Vedette, Vestel, Vestfrost, Viscount, Waltham, Wegawhite, Welco, Wellington, Weltstar, Westline, Westwood, Whirlpool, White Knight, White Westinghouse, Whiteline, Whitetone, Wilcool, Windsor, Worten, XD, Xper, Zanussi, Zephyr


Related Video: https://youtu.be/InX3qKP0bMk?si=dd_YGSFolylwNY14

1. How to Dismantle Bush WMNBX814W Washing Machine?

5. Removing Washing Machine Motor and Belt

2. Removing Front Panel, Soap Drawer, Control Board, Door, Lock

6. Removing Shock Absorber, Suspension Leg Pins

3. Removing PCB Control Board (Printed Circuit Board)

7. Removing Water Valve Solenoid

4. Removing Soap Box and Soap Box Hose

8. Lifting Washing Machine Drum Out & Removing Drum Springs

24h technical help answers

Questions on faults in the comments will not be answered. Please use the contact us form instead.

TOP