FORGOT YOUR DETAILS?

How to Dismantle Whirlpool Zen FSCR10431 Washing Machine? | Step by Step Whirlpool Disassembling Guide

Repair Guide for Dismantling Whirlpool Zen FSCR10431 Washing Machine


In this guide, we will show you how to disassemble a Whirlpool Zen washing machine, model number FSCR 10431.

We're dismantling it for parts because the program has a fault and needs replacing.

Additionally, the machine wasn't installed level, causing water to leak from the soap drawer and corrode the panel and base.

While dismantling, we'll highlight valuable components like the door, drum, pump, and motor, all worth recycling.

Although our aim is to guide you through the disassembly process and address common errors to assist with any future issues in this guide, we would recommend you watch the whole video to learn each step in detail.


Additionally, you can visit our web store to buy genuine spare parts: https://shop.how-to-repair.com/collections/tumble-dryer-parts 


Safety First!

  • Unplug your washing machine before starting disassembly.
  • Organize screws and parts meticulously to avoid confusion during reassembly.


Tools You'll Need:

  • Screwdrivers (various sizes) or chargeable drill with correct extensions (if you have one).
  • A friend to give you a hand while removing the motor.


First Remove Front Panel, Soap Drawer, Door Seal & Lock


  • First, remove the two standard screws at the back of the machine and tap it backwards to release the lid.
  • Next, press the button to remove the soap drawer, revealing mold and corrosion buildup.
  • Then, carefully detach the facial panel, unclip the display panel, and remove the door and hinge assembly.
  • The front panel can be removed by pressing buttons on either side to release the locking mechanism, followed by unscrewing torque screws.
  • Before removing the last screw holding the door lock, press down the lugs on the lock and slide it out.
  • Finally, remove the concrete cinder block from the front.


Then Remove Soapbox Hose, Fill Pipe, Door Seal & Pump


  • You must know that these clips can be tricky to reattach, so consider replacing them with jubilee clips if needed.
  • The door seal, held on by a spring, can be lifted with a screwdriver to reveal accumulated dirt, highlighting the importance of maintenance washes.
  • Removing the soapbox hose is straightforward with pliers, and the pump removal process involves releasing the sump hose clip and another clip to reveal potential obstructions like lodged plastic.
  • After disconnecting the hoses and bolts, the pump can be disconnected from the chassis, allowing for wiring disconnection.
  • At this stage, we can remove the pressure switch to clear some space. Release the clip at the top, disconnect the wiring, remove the hose, and then lift and twist to remove the pressure switch.
  • We can also remove the two retention bars to make the drum removal easier. Additionally, you would like to remove the top concrete block to lighten the load when taking out the drum from the machine.
  • Again, please watch the whole video to implement these steps easily.


Now We Can Remove Water Valve, Soap Box & Waste Hose


  • Inside the soapbox, you'll find clips on the side, allowing it to be disassembled and cleaned.
  • In areas with high calcium content in the water, these jets can easily become blocked. That's why we recommend a regular cleaning, perhaps annually or every couple of years.
  • Additionally, cleaning the soapbox helps remove any mold or grime buildup.
  • Once the hoses are undone, remove the wiring from the water valves.
  • To remove the water valve, apply slight pressure while pressing in the pins at the top and bottom, then turn it clockwise to release.
  • There's also a measuring device connected to the water valve, which can be removed by pressing down the lug.
  • Furthermore, the waist hose on these machines consists of two components: the internal and external parts. Undo the clip at the back to remove the internal part. You will probably notice the buildup of dirt inside, which can lead to water restriction and potential errors like the machine not emptying within the allocated time.


Time For Removing Printed Circuit Board, Motor, Heater


  • Next, we'll remove the motor, located behind the back panel, along with the heating system.
  • Then, you should remove the printed circuit board and disconnect the wiring to the heater and motor. Detach the earth wire and press down on the lug to release the program. Cutting the cable ties, release multiple plug connections to expose various connections on the cover. You should note that circuit boards may require programming, so ensure compatibility with your machine model.
  • After that, you can quickly disconnect the heater by cutting the cable tie for easier access, then remove the plug from the NTC sensor and any attached wires, which may be sticky. Press down the pins on the earth wires to safely remove them. You should be careful about any sharp edges.
  • We recommend you watch the whole video to be able to do these with ease.


Then Remove Whirlpool Suspension Legs, Drum & Shock Absorbers


  • Before lifting the drum, it's best to remove the suspension legs to prevent damage.
  • These plastic lugs are held in place by two pins. Pressing and turning these pins slightly releases the tension, allowing you to twist and remove the suspension leg.
  • Additionally, unclip and remove the hose connecting the pump to the front.
  • To pull the drum out of the machine, you may either ask a friend for assistance or use a hoist. Then, tie the harness around the drum to elevate it and relieve pressure, allowing you to remove the two springs. Removing the plastic covers provides access to the springs. Then, you can elevate the machine slightly and remove the drum out of the chassis to uncover the heating system.
  • Shock absorbers are also attached to the top of the drum. It's a clip system with pins on either side. Press down on one side, gently twist it, and the shock absorber will detach.


Removing Outer Parts of Whirlpool Motor, Motor Windings, & Heating Element


  • In this part, we need to remove the outer part of the stator, which requires a torque 40.
  • These parts can be sticky due to the locktite adhesive (you will need it while reassembling) on the threads. You'll notice the red residue, which is the lock tight. You'll need to reapply lock tight when reassembling.
  • These motors are magnetic, so you may need to wiggle them to remove. Once the outer part of the stator is off, you'll see the motor itself. There are part numbers on both sides for reference. You will then undo the two wiring clips and remove the motor with these six bolts.
  • To remove the motor windings, press down and push in the clip on the far side, then undo two 7mm bolts. While holding the motor, you should remove the last bolt, and the motor will come away.
  • Finally, we have the heating element, which consists of the NTC sensor and an 1800 watt element. The NTC sensor sends temperature readings to the circuit board, while the element can be tested using other videos on our channel. Undo the nut almost to the end of the threads, then tap it inward to release pressure off the seal. You may use a screwdriver to pry the element away from both sides, which can be tricky due to the compressed seal. Lastly, you should have a look inside the drum since it may need a thorough cleaning owing to the accumulation.
  • Please remember that the whole video includes step-by-step and detailed explanations, which may help you reduce your repair time.


Parts that we removed on this Whirlpool Washing Machine


  • C00374992, 481010564917 Door Hook
  • C00375037, 481010765495 Door Glass
  • C00375022, 481010721766 Front Plate
  • C00374788, 481010581330 Washing Machine Pump
  • C00374780, 481010632438 Door Seal
  • C00374791, 481010597311 Pressure Switch
  • C00374790, 481010623016 Water Valve
  • C00374999, 481010580618 Soap Box
  • C00374988, 481010503160 Electric Input Filter
  • C00376547, 481010621592 Printed Circuit Board
  • C00312066, 481010550891 Washing Machine Heater
  • C00380621, 481010644055 Washing Machine Drum
  • C00375034, 481010754041 Shock Absorber
  • C00374787, 481010706382 Motor Windings


Related Video: https://youtu.be/ZjSSGdFvtTc?si=cUtkeRjTKmsft5Wd

Whirlpool Washing Machine Playlist: https://youtube.com/playlist?list=PLnAHZbSarsyEcpZiIQAkJ0qJ9cLOA6A0L&si=V5PzmJKOIpM1B6CG

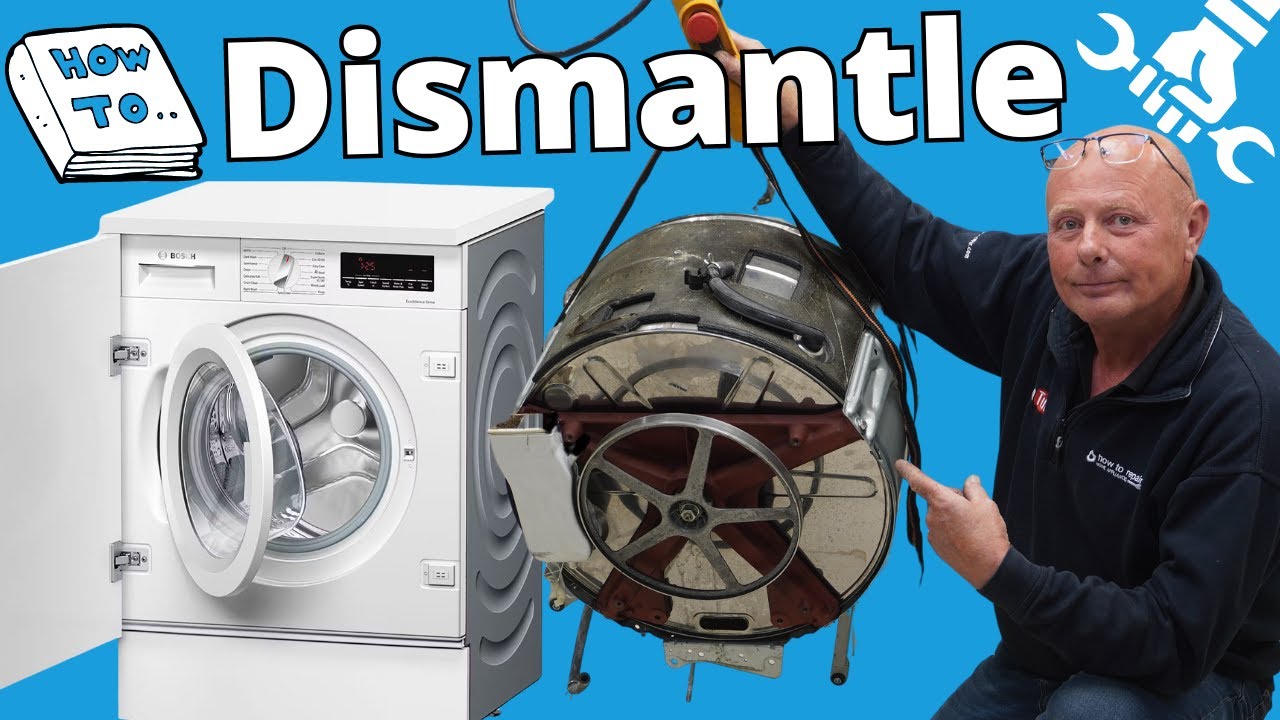
1. Whirlpool Zen FSCR10431 Washing Machine Dismantling

5. Remove Whirlpool Pressure Switch C00374791, 481010597311

9. Remove Back Panel, Printed Circuit Board, Drum & Motor C00376547, 481010621592

13. Remove Shock Absorber from the Drum C00375034, 481010754041

2. Remove Front Panel, Soap Drawer, Door Seal & Lock etc. C00375022, 481010721766

6. Remove Retention Bars & Top Concrete Block

10. Disconnect Washing Machine Heater C00312066, 481010550891

14. Remove Outer Parts of Whirlpool Motor

3. Remove Concrete Cinder Block

7. Remove Water Valve & Soap Box C00374999, 481010580618

11. Remove Whirlpool Suspension Legs

15. Remove Whirlpool Motor Windings C00374787, 481010706382

4. Remove Soapbox Hose, Fill Pipe, Door Seal & Pump C00374780, 481010632438

8. Remove Waste Hose

12. Remove Whirlpool Drum C00380621, 481010644055 & Springs C00374800, 481010730045

16. Remove Whirlpool Heating Element C00312066, 481010550891

24h technical help answers

Questions on faults in the comments will not be answered. Please use the contact us form instead.

TOP