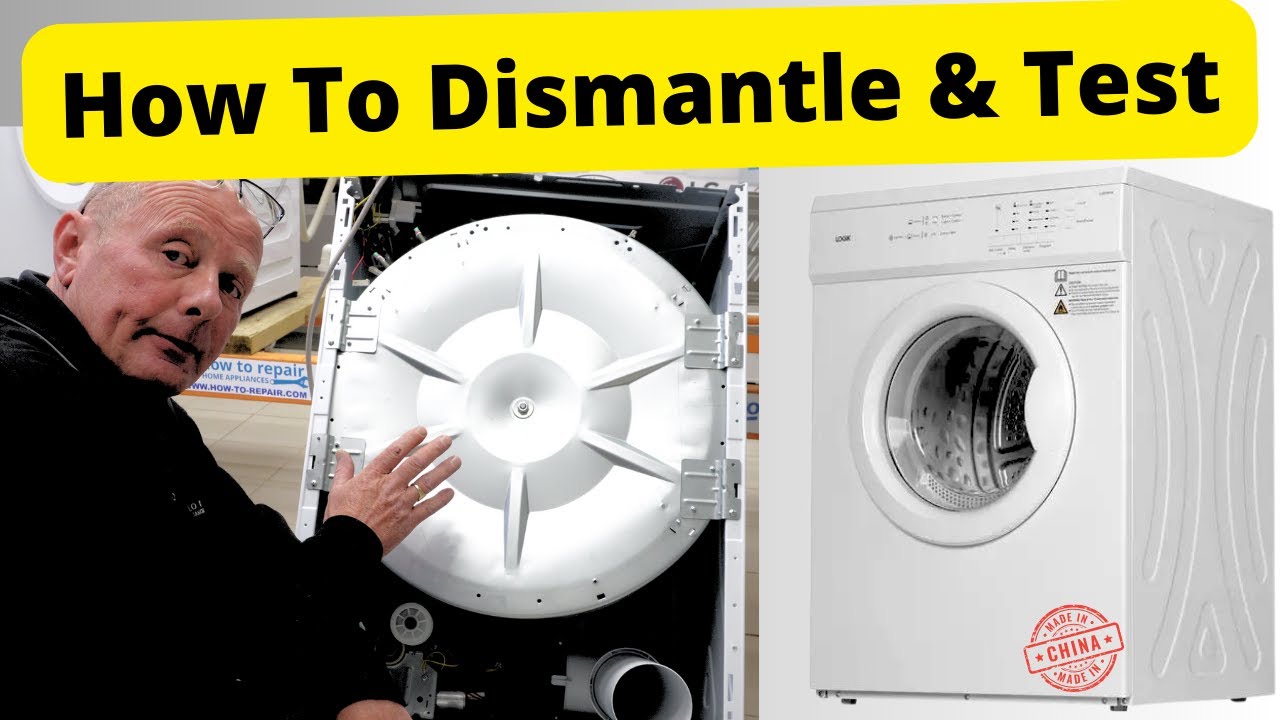

How to Dismantle LG ThinQ Washing Machine? | Complete Guide To Taking It Apart (2020 Onwards)

Repair Guide for Dismantling LG ThinQ Washing Machine
In this guide, we will show you how to disassemble a LG ThinQ Washing Machine, it will help with models like this:
FCV310WNE, FCV309WNE, F4C510WBTN1, F2Y509WBLN1, F4V309SNE, F4Y511WBLN1, F4C510GBTN1, F2C509GBTN1, F4T209WSE, F2Y709BBTN1, F4T209SSE, F4Y511WWLA1, F6V1110WTSA, F4Y909WCTN4, F4Y909WCTN4, F4Y513WWLN1, F4Y511GBLA1, F4Y711BBTN1, F2T208WSE, F4Y713BBTN1, F2A509GBLN1, F4A510GBLN1
While we are focusing on dismantling LG washing machines, specifically the models from 2020 onwards, we'll go through each component and demonstrate how to remove and replace parts.
For earlier models, we have helpful videos on our YouTube channel to guide you.
Although our aim is to guide you through the disassembly process and address common errors to assist with any future issues in this guide, we would recommend you watch the whole video to learn each step in detail.
Additionally, you can visit our web store to buy genuine spare parts: https://shop.how-to-repair.com/collections/washing-machine-parts
Safety First!
- Unplug your washing machine before starting disassembly.
- Organize screws and parts meticulously to avoid confusion during reassembly.
Tools You'll Need:
- Screwdrivers (various sizes) or chargeable drill with correct extensions (if you have one).
- A friend to give you a hand while removing the motor or a hoist.
1. Removing Top of the Machine, Soap Box, Water Valve
- Let's start from the top and work our way down.
- Organizing screws is crucial due to different materials and threads used throughout the machine.
- The control board is our first removal task. After removing the soap drawer, unscrew the panel and detach the cables. To capture the wiring configuration, it's helpful to take a photo, despite the wires having designated locations.
- Moving on, we'll remove the fill assembly, including the water valve, hoses, and soap box connection. The soap box assembly, prone to calcium buildup in high-calcium areas, may cause issues like jammed jets. Cleaning this assembly periodically is advisable to prevent mold accumulation.
- Please remember that the whole video includes step-by-step and detailed explanations, which may help you reduce your repair time.
2. Removing Door, Door Hinge & Door Lock
- Removing the door assembly and hinge is a quick process. Usually, the door is sold as a complete unit.
- You can access the hinge by undoing the screws and prizing the door apart. Next, removing the front panel is straightforward, involving hidden screws and a door seal that can be lifted with a small screwdriver or specialized tool called door band pliers.
- To remove the seal, first, peel it back. Then, take out the two screws securing the door lock. DE error codes often stem from door lock issues or improper door closure. Press the clip button to detach the lock, and inspect the electrical connection for signs of burning.
- Finally, remove the panel by undoing three screws at the top.
3. Removing the Control Board & Imbalance Load Sensor
- Next, we'll remove the program and the front retaining bar.
- Undo the two screws holding the program in place, and then slide it off. Remove the retaining bar as well. Cut off any cable ties and take photos of the components' placement for reference.
- Circuit boards are susceptible to intermittent faults and power failures, and repairing them can be challenging due to their encapsulation. Look for the genuine part number on the board and ensure compatibility before purchasing a replacement.
- Next, let's address the imbalance load sensor, situated on the top of the drum. It's held in place by a couple of clips that can be released. Then, there's a clip underneath that allows the sensor to slide out.
4. Removing the Heating Element & NTC Sensor
- Next, let's address the heating system. It's worth noting that on older machines, wire fatigue can sometimes cause issues with the heating system. Errors like TE and HE often indicate a heating or NTC sensor problem.
- Start by cutting the cable ties and disconnecting all the connections. To remove the heating element and NTC sensor, release the pressure on the bolt first. We recommend backing the bolt all the way out before pushing it inwards to release the element.
- Sometimes, you may need to carefully pry the element out if it's stuck.
- Once removed, you'll have the element and NTC sensor, which are sometimes sold as a single unit.
- If you want to check your NTC sensor's functionality, it's worth watching the whole video.
5. Removing Sump Hose, Soap Box Hose & Door Seal Counterweights
- Since we're taking the drum out, let's remove the pressure bowl and the hose from the pump.
- Start by unscrewing the bottom screw to detach the hose from the pressure bowl. Then, remove the hose from the drum by releasing the screw and pressing down on the clip. Pressure bowl will then come off.
- Overfilling issues can occur when dirt accumulates, affecting the pressure switch's ability to gauge the water level accurately.
- Next, we'll remove the counterweights, door seal, and soap box hose.
- Removing the counterweights is straightforward, with four bolts on each counterweight. When reassembling, it's important not to use an impact wrench to avoid overtightening or damaging the counterweights. Instead, use a hand spanner to ensure proper tightening without risking damage.
- We've also addressed a few common issues with LG ThinQ washing machines in our video. If you are facing soap box hose blockages, leaking, cracked counterweights, vibrations, or strange noises, we recommend you watch the whole video.
6. Removing the Suspension Legs (Shock Absorbers) & Washing Machine Motor Itself
- There are three suspension legs, each stamped with a part number. To remove them, press down on the front pin and slide it backward to release the suspension leg. Repeat this process for the top pin. The part number on the suspension legs helps identify the correct replacement. Once we remove all the bottom pins from the suspension legs, we'll be ready to take out the drum after removing the motor from the back of the machine.
- Next, we'll remove the motor. Disconnect the wiring from the motor before proceeding.
- To remove the motor, first, undo the bolt securing it. This bolt may have Loctite applied to prevent it from loosening. Tap it lightly to loosen it.
- The spline, often made of plastic, can be prone to wear, causing issues with drum rotation.
- Once the bolt is removed, pry the motor away; it's magnetically attached. The stator, which drives the motor, has three bolts to undo.
- Cut away any cable ties and undo the screws holding the cabling in place before removing the stator.
- Disconnect the plug, and the motor can be lifted away.
- Keep an eye out for issues indicated by error codes LE, SE, and C, often related to motor faults.
- Inspect the magnets around the stator for any damage. The coupling at the back, with a part number written on it, can sometimes cause drum rotation problems. It's worth checking its condition.
7. Removing Drum Springs, Drum Bearings, Pump & Waste Hose
- Now, you are ready for lifting the drum. There are lifting points on either side, and if using a hoist, you can lower it down easily. Otherwise, it's a two-person job, ensuring fingers are kept clear of the cabinet edges.
- It's essential to keep everything organized for reassembly, with screws sorted and components stored separately. Remember to note the orientation of the springs before removing them.
- With everything organized and the weight off the drum, you can safely lift it out of the machine.
- Let's set the drum aside. Replacing its bearings is straightforward: bolts around the perimeter, a gasket or high-quality silicone to seal the halves, and parts labeled with their respective part numbers for easy identification. Different models may have varying suspension leg configurations, so check part numbers accordingly.
- At the bottom of the machine is the pump motor and housing, typically with a DC motor for quieter and more efficient operation. Higher-end models might feature an anti-flood device to detect leaks.
- For leaks or other issues, please watch the video via the link above, since we delve into this topic in detail.
Related Video: https://youtu.be/8556HBSZEf0?si=6VVz2Zc0bB4eHseY
Complete Playlist on All LG Washing Machine Repairs: https://www.youtube.com/playlist?list=PLnAHZbSarsyHLR4x9XPIS-ZEsheufxm9Y
Part Numbers of the LG ThinQ Washing Machine Spares
- Soap Box, Water Valve Assembly 5220FR1251G or 5220FR2067J
- Door & Hinge MEF62821902 ADC74745514
- Door Lock EBF61315801 EBF62534402
- Control Board PCB EBR85842430
- Imbalance Load Sensor EBD48922810
- Heating Element & NTC Sensor AEG73309903
- Sump Hose MAR62762001
- Soap Box Hose MAR62542004
- Door Seal Counterweights MAG63763201, MDS67595202 or MDS66651608
- Suspension Leg (Shock Absorber) 4901ER2003A
- Motor AJB73816024, AJB73816001 or AHL73855301
- Pressure Switch EBF63534905
- Electrical Filter Suppressor EAM64652601
- Drum Springs MHY62644802
- Drum Bearing & Seal MAP64433703, MAP64433704, 4036ER2004A
- Pump & Waste Hose EAU64082902, 5214FR3188L

1. Dismantling LG ThinQ Washing Machine

5. Removing the Heating Element & NTC Sensor of LG ThinQ Washing Machine

2. Removing Top of the Machine, Soap Box, Water Valve

6. Removing Sump Hose, Soap Box Hose & Door Seal Counterweights

3. Removing Door, Door Hinge & Door Lock

7. Removing the Suspension Legs & LG ThinQ Washing Machine Motor

4. Removing the Control Board & Imbalance Load Sensor

8. Removing Drum Springs, Drum Bearings, Pump & Waste Hose
-
How to take a part and disassemble an LG washing machine
-
How To Replace LG Washing Machine Door Seal Gasket
-
How to remove a washing machine sump hose and filter to clear blockages
-
How to Remove Items from a washing machine drum like bra wire, coins, screws
-
lg washing machine De error code how to replace door lock
-
LG washing machine error code OE.