Cooker & Oven selector switch and thermostat regulator how they work
by Paul Charmbury
/
Monday, 26 August 2013
/
Published in Cooker & Oven, Repair Guides, Thermostats & Regulator Switches

Cooker & Oven Thermostats, Regulators & Switches
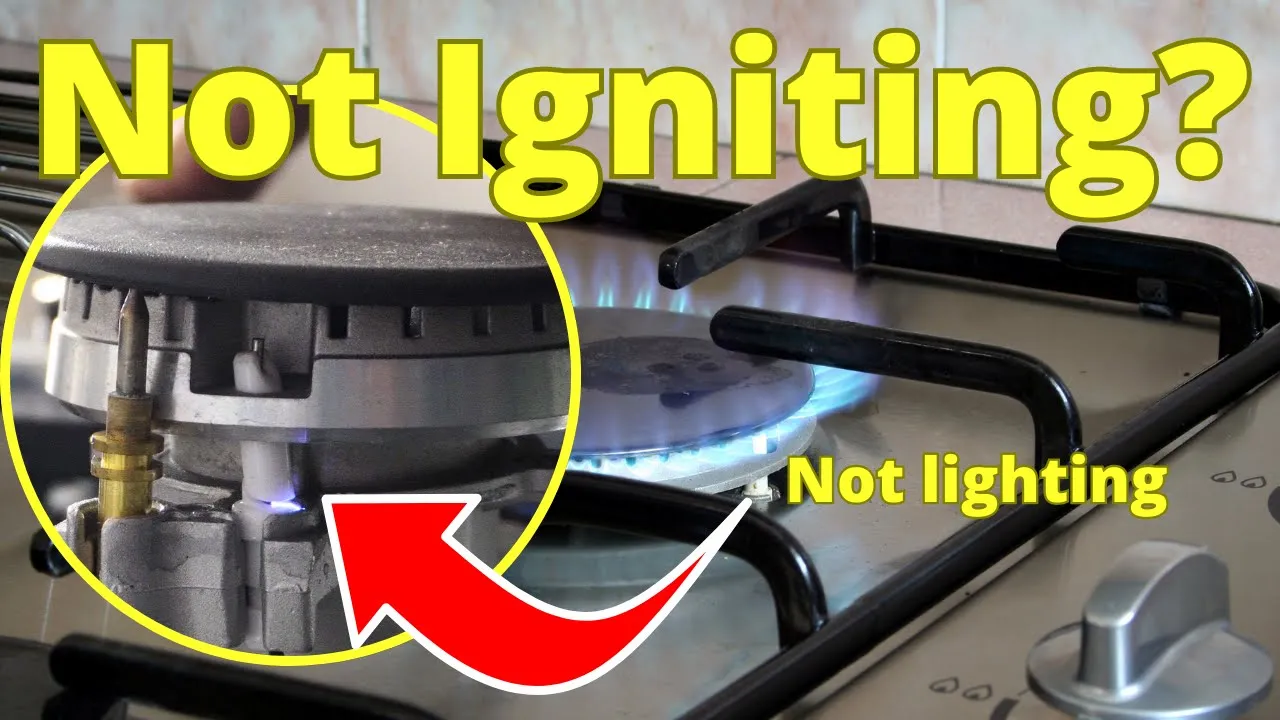
This video will show you how Cooker, Oven selector switch and thermostat regulator work.
we will show you a step by step procedure on the process. We will also show you the cheapest places to buy your assemblies around this page.
Tagged under:
Cooker & Oven selector switch, Cooker & Oven selector switch and thermostat regulator, cooker & oven thermostat
7 Responses to “Cooker & Oven selector switch and thermostat regulator how they work”


Hi do you know where I could get a picture of the wiring for a logik/ Currys essentials cfsewh12 function selector switch?? A client took it to bits and not I have been left to pick up the pieces, to little avail, any help would be greatly appreciated, thanks Jamie.
Hi, I have an Indesit electric double oven. The main oven is fine the grill in top oven is fine. My problem is that the top oven doesn’t heat up. I have changed the element but problem still remains. What could be causing this problem please? FIMD 23 BK approx 5 years old. Many thanks
Hi, I need the diagram of the connections of an oven switch siemens HB200540.
One photo would be enough, I lost the photos I made with my cell phone.
Thank you so much.
Cook&lewis oven temperature keeps flashing
Hi, may you Please help me with wiring diagram for KIC 4 Plate cooktop 6 position
My Sister-In-Law has an old 24″ built in oven. It’s not working and she wants me to see if I can trouble shoot it and repair it. I don’t know if parts are available due to it’s age and I don’t want to waste my time with it if parts are not available. The Model # RK736GOP1BG Serial # : GF620805Q If you have parts for it please let me know, and or if I’m wasting my time with it. The oven will not heat up and I haven’t had any time to get to it yet. Please help. Thank you in advance.
Hi
I have a zanussi double oven. A few weeks ago I cooked for a large number overca long period of time. My oven tripped, i noticed steam in the display. After resetting the rcd it blew again showing a spark behind the thermostat selector, I left it overnight it worked again. However tonightbit tripped again from cold with a spark behind thermostat selector. Any idea?