Teka Oven not heating or coming on.
by Paul Charmbury
/
Friday, 06 April 2018
/
Published in Fan Oven Elements, Thermostats & Regulator Switches

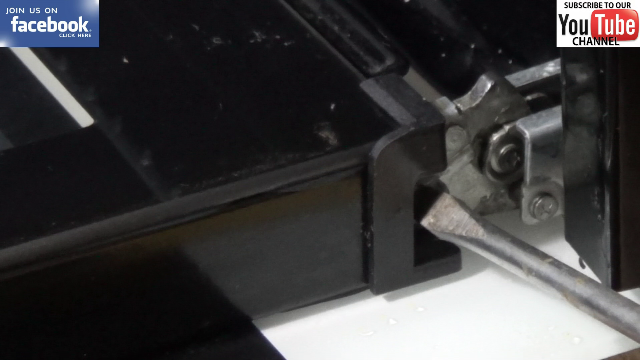
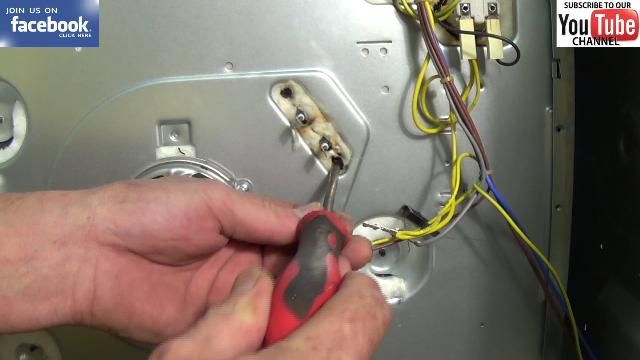
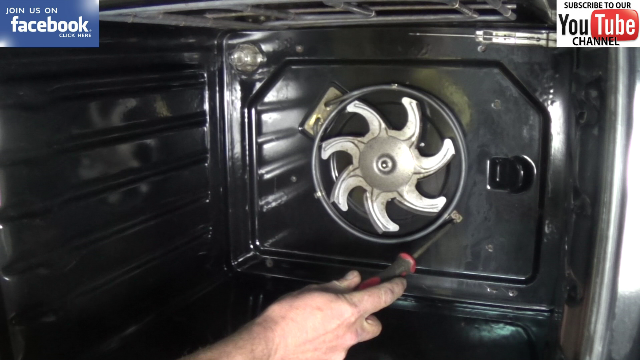
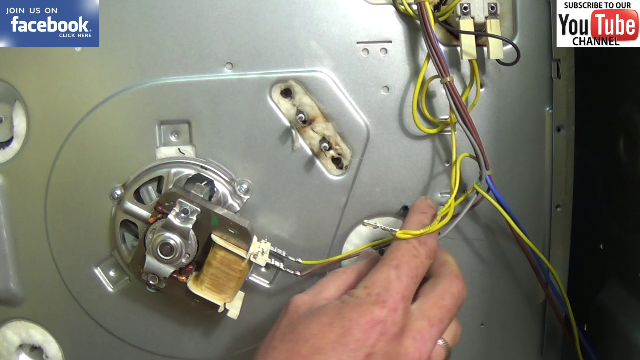
This cooker tutorial is on a Teka oven that is not heating up or tripping the electric supply (earth trip or Rcd on fuse board) it can be used on free standing Teka cooker or built in cookers.
This cooker tutorial is on a Teka oven that is not heating or you are not able to select the correct program possible selector switch fault.
This cooker tutorial will help you replace a grill element or base element